
Most badly fitting saddles do not look badly fitting. They sit level, they clear the withers, and the horse goes politely enough that nobody questions it — until a sore back, a shortened stride or a reluctance to go forward turns up months later and gets blamed on something else. This is how to check a saddle yourself, what those checks genuinely tell you, and where they stop.
The checks you can do yourself
Do these with the saddle on a clean, dry back, no pad, horse standing square on level ground. Then repeat the important ones with the girth done up, and again with a rider up.
1. Wither clearance
You want roughly two to three fingers between the pommel and the wither, with a rider in the saddle and the girth done up. Checking this on an unmounted horse is the single most common mistake — a saddle that clears beautifully in the yard can sit down on the wither the moment weight goes into it.
Too little clearance and you get pressure on the wither itself. Too much usually means the saddle is too narrow and perching rather than sitting down into the horse.
2. The gullet channel
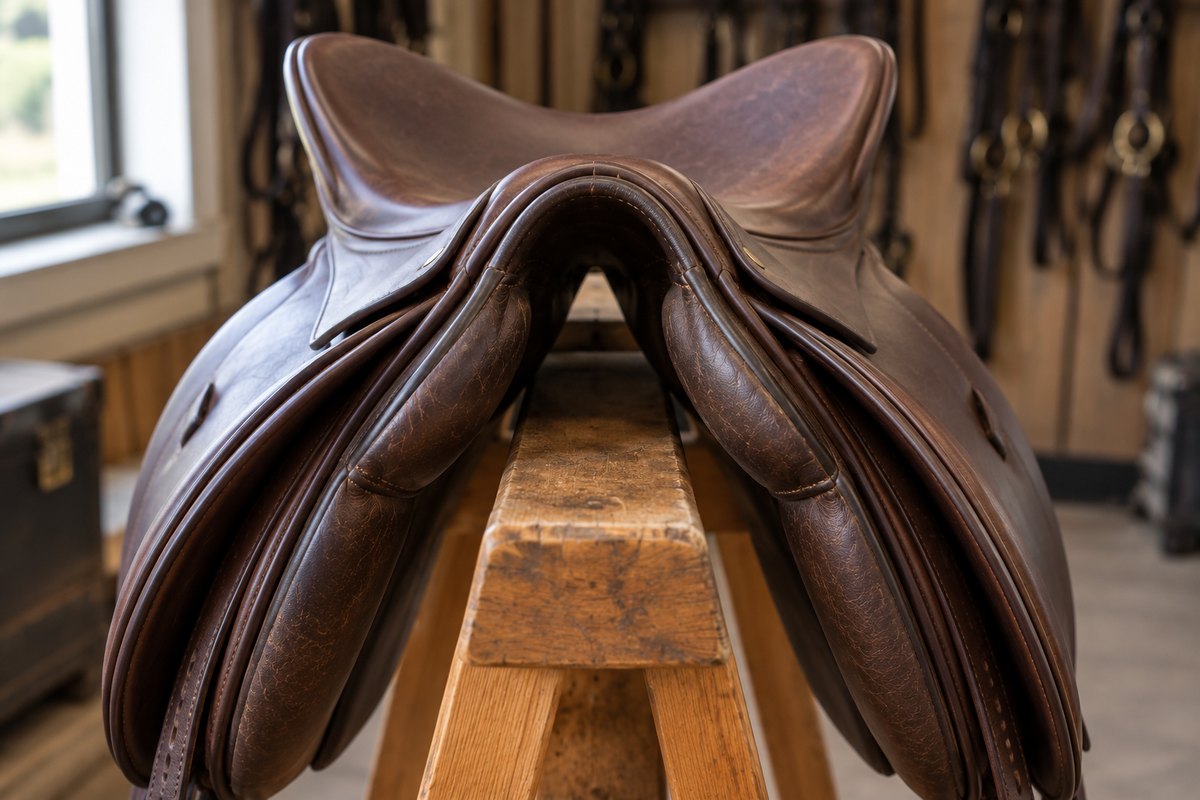
Look through from pommel to cantle. The channel should be clear of the spine along its entire length, not just at the front. The spinous processes need room; a channel that pinches anywhere along the back is a problem even if the ends look generous.
3. Panel contact
Run a flat hand between panel and back, from front to rear, with light even pressure. You are feeling for consistency, not for gaps you can see. Two faults show up here:
- Bridging — contact at the front and back of the panel with a slack middle. The horse carries the load on four small areas instead of the whole panel.
- Rocking — the opposite: contact in the middle, with the front and back lifting. Push down on the cantle and see whether the saddle pivots.
4. Tree points and the shoulder
The tree points should sit behind the scapula, not on it. Have someone lift and extend a foreleg while you feel what the shoulder blade does — it rotates back considerably further than most people expect. A saddle placed too far forward will interfere with that every stride.
5. Balance
Stand directly to the side. The deepest part of the seat should be level, or very slightly lower at the front. If the cantle sits noticeably low the saddle is likely too wide; if the pommel sits high and the rider is tipped back, usually too narrow. A rider fighting to stay in balance is often fighting the saddle rather than their own position.
6. Length
The panel should not extend past the last rib. Behind that there is no ribcage to carry weight, only the lumbar spine, and loading it there is a reliable way to produce a sore back. This matters most for short-backed horses carrying tall riders, where the saddle a rider needs and the saddle the horse can take are in direct conflict.
7. Sweat marks
After a working ride, pull the saddle off and read the pattern. You want it broadly even. Dry patches in an otherwise sweaty area are the thing to look at — they often indicate pressure high enough to restrict blood flow, not an area that was doing less work.
Read it the same day, in the same conditions, more than once. A single sweat pattern after a hack in January tells you very little.
8. What the horse says
Girthiness, dipping away as the saddle goes on, reluctance to go forward, a tail swishing in transitions, bucking into canter, refusing to stand to be mounted. None of these is proof of a saddle problem, and all of them get written off as attitude far more often than they should be.
What those checks actually tell you
Quite a lot. They will catch a saddle that is grossly too narrow or too wide, one placed too far forward, one that is too long for the horse, and most cases of obvious bridging. If you work through all eight honestly, you will find the majority of seriously bad fits.
They are a screen worth doing. They are not a fitting.
Where hand checks stop
A static check cannot see movement
Everything above is done with a horse standing still. The horse you ride is not standing still. The back lifts and rounds, the shoulders rotate, the saddle shifts with each stride, and a saddle that is correct in the yard can bridge in trot or rock in canter. Bridging in particular frequently only appears once the horse is working.
A hand is not very sensitive to pressure
You can feel a gap. You cannot reliably feel the difference between acceptable pressure and pressure high enough to cause damage over an hour, and the threshold at which tissue damage starts is well below what registers as “firm” to a hand.
The rider is part of the fit
A correctly fitted saddle can still load a horse unevenly if the rider sits crooked, collapses a hip or takes more weight into one stirrup. Most riders are asymmetric and most do not know the direction of it. No check done from the ground, with the horse unmounted, captures any of this.
Horses change shape
Muscle develops and atrophies, weight comes on and off, and a horse coming back into work in spring is a different shape by midsummer. A fit that was correct in March may not be in July. This is the single most common reason a saddle that was professionally fitted stops fitting.
When to call a professional
Get a qualified fitter out if you are buying a saddle, if the horse has changed shape or workload, after a layoff, if there is any sign of back soreness or new behaviour under saddle, and routinely once or twice a year regardless. A fitter brings trained hands, a trained eye and — crucially — the ability to adjust flocking and tree width rather than only diagnose.
The International Academy of Saddle Fitters trains and certifies fitters through a structured pathway, and we work with them on objective pressure measurement.
What measurement adds
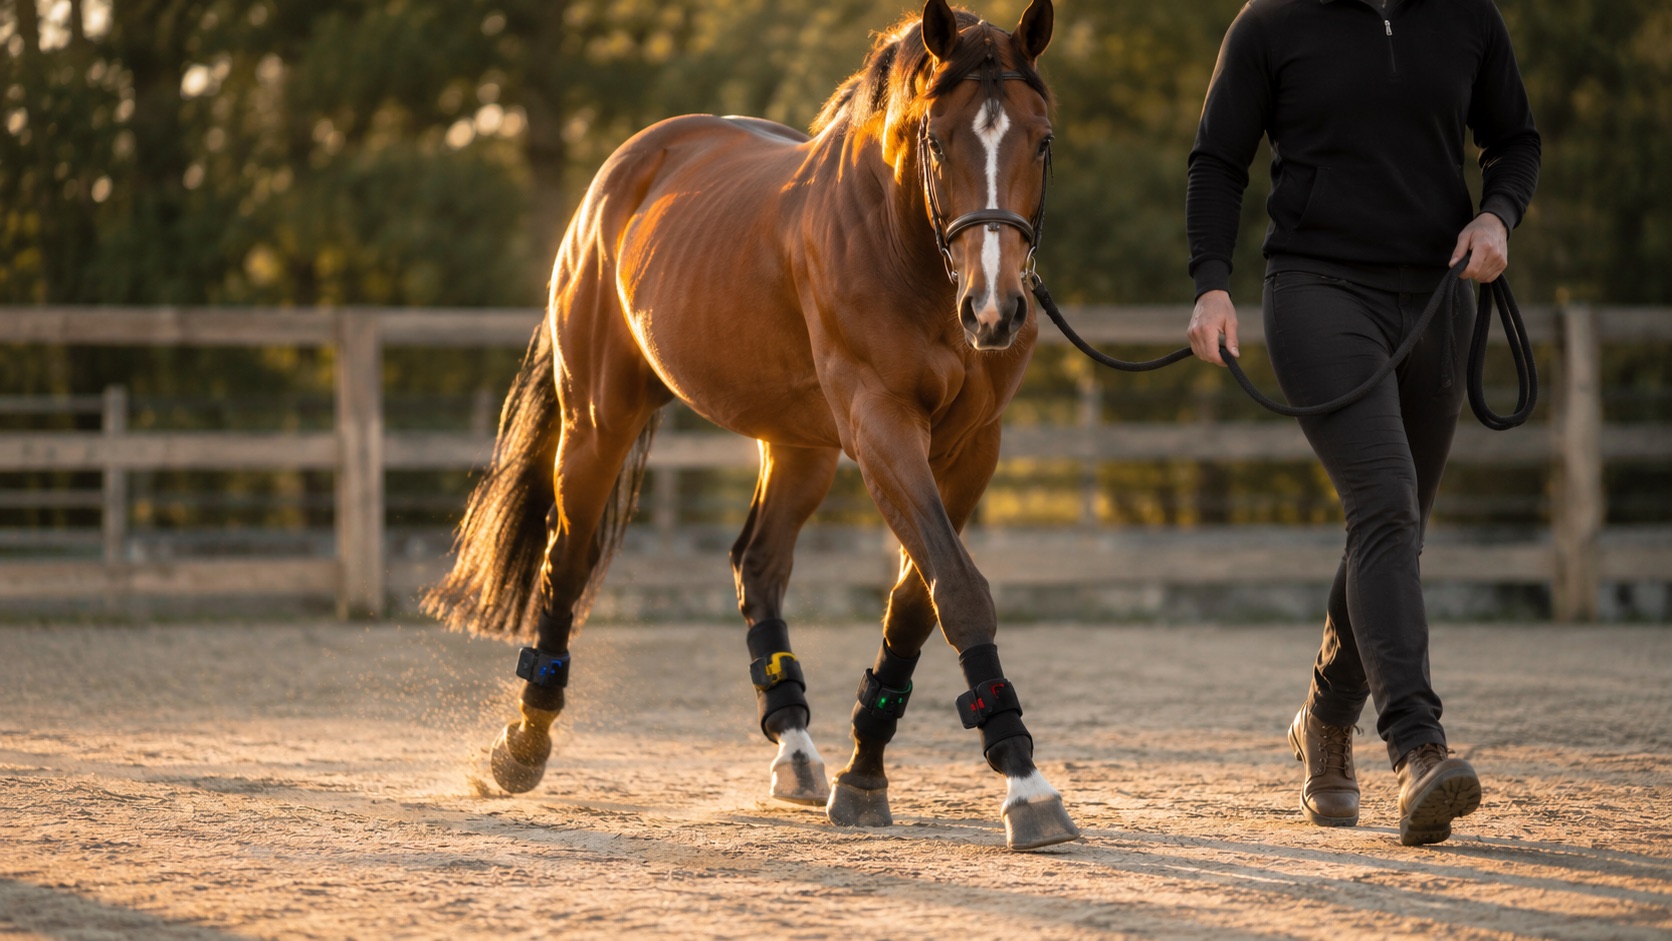
A pressure mat sits between saddle and back and records load across the whole panel, through every pace, while the horse is working. That changes three things.
- It shows the dynamic picture. Bridging that only appears in trot, pressure that builds as the horse tires, a saddle that shifts to one side — none of which a static check reaches.
- It separates the saddle from the rider. The mat records the rider’s effect as well as the saddle’s, so an asymmetric load can be attributed rather than guessed at.
- It makes before-and-after visible. Adjust the flocking, ride again, compare. Within one session you can see whether the change did what it was meant to.
It is not a replacement for a fitter’s hands and judgement. It is a way of checking what those hands concluded, and of showing an owner the evidence rather than asking them to take it on trust.
The short version
- Check wither clearance with a rider up, not in the yard
- Look through the gullet for clearance along the whole spine
- Feel the panel for bridging and rocking
- Keep the tree points behind the scapula
- Check the saddle sits level and does not run past the last rib
- Read sweat marks repeatedly — dry patches are the warning
- Take behavioural changes seriously
- Have it checked professionally at least annually, and whenever the horse changes shape
Estride Harmony measures saddle pressure across the whole panel through every pace, so saddle fit becomes something you can see rather than something you judge by hand. It is used in professional fitting by the International Academy of Saddle Fitters.

Leave A Comment